

The ideal knot depends on the width of the tie, its fabric, and the occasion for which it is being worn.
Whether you want to be able to help your significant other or you like menswear-inspired women’s fashion, there are many reasons to know different ways to tie a necktie.
Some knots are better for more formal occasions and some are simply more creative and eye-catching. Every knot has its own character and vibe. So how do you know what the right type of knot is for every occasion?
Choose a Knot Based on the Type of Tie
The knot is unquestionably the most important aspect of wearing a tie. If chosen and executed correctly, the knot highlights the features of the necktie and adds a touch of elegance to the overall look.
The ideal knot depends on the width of the tie, its fabric, and the occasion for which it is being worn. To select the best tie knot, you must first consider the design of the tie.
A complicated knot, for example, is not ideal for heavy, textured fabrics and patterned designs. These kinds of ties are better worn with a simpler knot. On the other hand, if the material is fairly slick, like silk, linen, or cotton, you can choose knots with more twists.
12 Different Necktie Knots
Not all knots are the same. Knot size, symmetry, and form vary widely so feel free to experiment with different types of knots to find which you are most skilled at tying and which you like best.
The Most Common Knots
Four-In-Hand Knot
The Four-In-Hand is the reigning champion of necktie knots, named after a 19th-century London Gentleman's Society of the same name. Its appeal comes from its simplicity and adaptability. It's an easy-to-tie, slender and tapered, asymmetric knot. If you only want to master one type of knot, consider the Four-In-Hand.
This knot looks best with a thin-spread collared shirt and is ideal for gentlemen who want to look taller as the Four-In-Hand knot gives the appearance of an elongated neck.
How to Tie a Four-In-Hand Knot
Start with the wide end of the tie on your left, about 8 to 12 inches below the narrow end. Cross the wide end of the tie over the narrow and then bring the wide end of the tie underneath the narrow end.
Bring the wide end back over the narrow end of the tie. Pull the wide end of the tie through the loop. Hold the knot loosely and slide the wide end through the loop. Tighten the knot using your finger. When tightening the knot, make a dimple under it by pressing in with your index finger while squeezing the sides with your thumb and middle finger. The dimple creates a stylish effect.
Windsor Knot
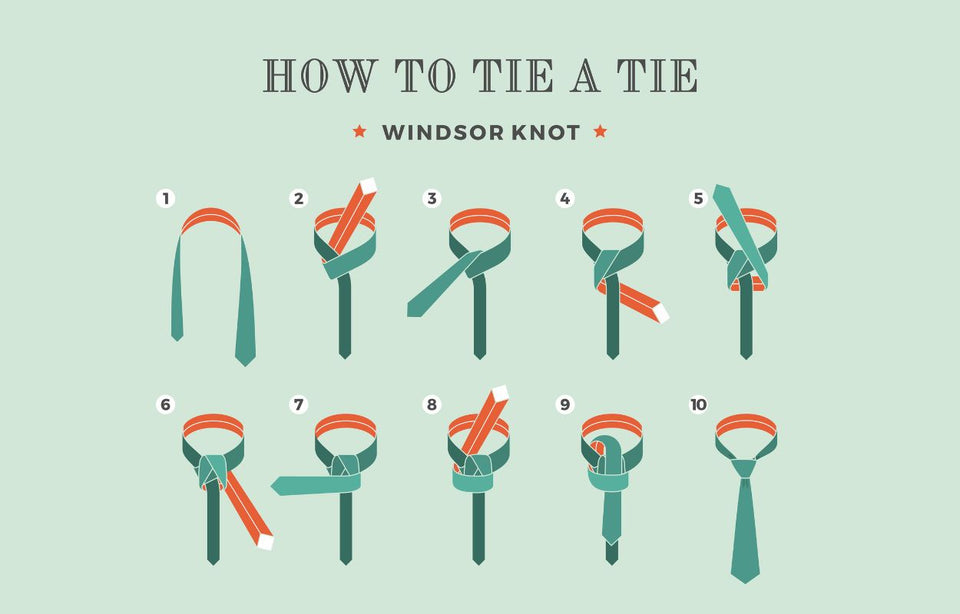
Although the Duke of Windsor never wore a Windsor Knot specifically, he did prefer a wide triangular knot. The Windsor Knot was created by the general public to mimic the Duke's knot style. It is a symmetrical and strong triangular knot that pairs well with a wide collar. It's considered the fanciest tie knot and is popular for formal occasions such as presentations, job interviews, weddings, and special events.
How to Tie a Windsor Knot
Begin with the wide end of the necktie on your left, about 12 inches below the narrow end. Cross the tie's wide end over the narrow end. Bring the tie's wide end under the cross and through the loop. The widest part of the tie should be on the right side. Bring the tie's wide end below the knot (from right to left).
Once you've taken the wide end of the tie underneath the knot, thread it through the loop from the outside. The wide end of your tie should now be on your left, and the foundation of the Windsor Knot should be tightly created. Wrap the tie's wide end around the knot (from left to right).
Bring the wide end of the tie through the loop and below the knot. Put the tie's wide end through the knot. Adjust and tighten the knot.
Half Windsor Knot
Despite its name, the Half Windsor knot is around three-quarters the size of the full Windsor knot. The Half Windsor is a medium-sized, nearly symmetrical knot that forms a deep and considerable dimple when executed correctly.
This knot works best with neckties of a medium to light thickness. The Half Windsor Knot is an excellent choice for semi-formal, formal, and work settings.
How to Tie a Half Windsor Knot
Begin with the tie's wide end on the right side. Cross the wide end over the narrow end. Bring the tie's wide end under, over, and through the loop, allowing the tie's back end to fall through onto your right hand.
Bring the tie from right to left over the knot, looping it over and under the knot. Slip the tie inside the loop. Put the tie's wide end through the knot. While adjusting the knot, tighten it and form a dimple.
Classic Knots
Pratt Knot
The Pratt Knot is also known as the Shelby Knot. Jerry Pratt, the Pratt Knot's creator, worked for the United States Chamber of Commerce and knotted his necktie in his signature style for 30 years. But, it was news anchor Don Shelby who advertised the knot on local television in 1989 and was credited by many for its creation.
The Pratt Knot is a medium-sized, elegant, and versatile knot. It looks great with a narrow or medium-wide collar. The Pratt Knot is excellent for everyday use, a night out, or a special celebration.
Prince Albert Knot
Though there is no proof that the Prince Albert Knot was worn by its namesake, Prince Albert, this knot is appropriate for both formal and casual events such as a date night or evening out.
The Prince Albert Knot is also known as a Double Four-In-Hand as it builds on the foundation of the Four-In-Hand Knot.
Simple Knot
The Simple Knot, also known as the Oriental Knot, has the fewest steps and is considered to be the easiest knot to tie. Despite its simplicity, this knot is rarely seen in the Western world but is quite popular in China. This could be because it does not self-release, making it more difficult to untie. The Simple Knot is small and asymmetric, leaning toward the active end.
Kelvin Knot
The Kelvin Knot was named in honor of 19th-century mathematical physicist Lord Kelvin. The Kelvin Knot, like the Simple Knot, begins with the tie laying inside out, resulting in an inverted tail. This knot creates a lean and neat knot that is comparable in size to the Four-In-Hand but somewhat fuller and more angular.
Adventurous Knots
Eldredge Knot
The Eldridge Knot is a unique, complex, and eye-catching necktie knot. Jeffrey Eldredge invented it in 2007, and it rose to online prominence in 2008. Unlike most tie knots, the Eldredge Knot is made with the narrow end as the active end. When finished, the narrow end is tucked below the shirt collar. The knot is big, resulting in a tapering fishtail braid look. This knot is very challenging to tie and should only be attempted by those with significant patience.
Trinity Knot
The Trinity Knot finds its roots in Celtic history. It is made loosely at first and then tightened towards the end, with the narrow end acting as the active end. The Trinity generates a circular, asymmetrical form that is slightly bigger than the Windsor Knot and quite appealing.
Murrell Knot
The Murrell Knot, invented by Brent Murrell in 1995, is an inversion of the conventional Windsor Knot. The narrow end rests in front of the wide end in its finished shape, producing a whimsical layered effect. The Murrell Knot creates visual interest, especially when the wide end and narrow end of the tie have different patterns.
Van Wijk Knot
Lisa Van Wijk designed the extraordinarily tall and cylindrical Van Wijk Knot in an attempt to build the highest wearable knot possible. The Van Wijk Knot is a variation of the Prince Albert Knot with an added third turning of the active end. This long and narrow knot, when tied correctly, gives a stunning and recognizable spiral appearance.
Balthus Knot
Balthus, a controversial Polish-French contemporary artist, developed the Balthus Knot in 1930. The Balthus Knot is the largest of the necktie knots. When properly done, the final knot is wide, conical, and quite short due to the number of times the wide end is wrapped around the narrow end.
How to Tie a Bow Tie

Though not a traditional necktie, the bow tie is also quite popular, especially for weddings and special events.
The bow tie was created to be a neckwear option that was more comfortable to wear than a cravat and would endure during a busy day. The butterfly and batwing bow ties were popular at the end of the 19th century. Dinner jackets were worn with black bow ties, while evening tails were worn with white bow ties.
Bow ties are usually made from fine materials like silk. However, you can find bow ties in less conventional fabrics like velvet or wool. Currently, bow ties are mostly worn for formal events; however, in the last decade, bow ties for casual wear have grown in favor.
FAQs
How do you tie a tie for beginners?
For beginners, there are a few knots that are generally considered to be easier to learn. For example, the Four-In-Hand Knot, the Simple Knot, and the Pratt Knot require only a few basic steps. Though any knot takes time and practice to master.
How do you tie a tie in 3 steps?
Usually, it takes more than three steps to tie a tie. However, the most simplified method for tying a tie would be to cross the wide end over the narrow end. Then, bring the wide end up and over the knot. Lastly, bring the wide end down and through the knot, and adjust and tighten if necessary.
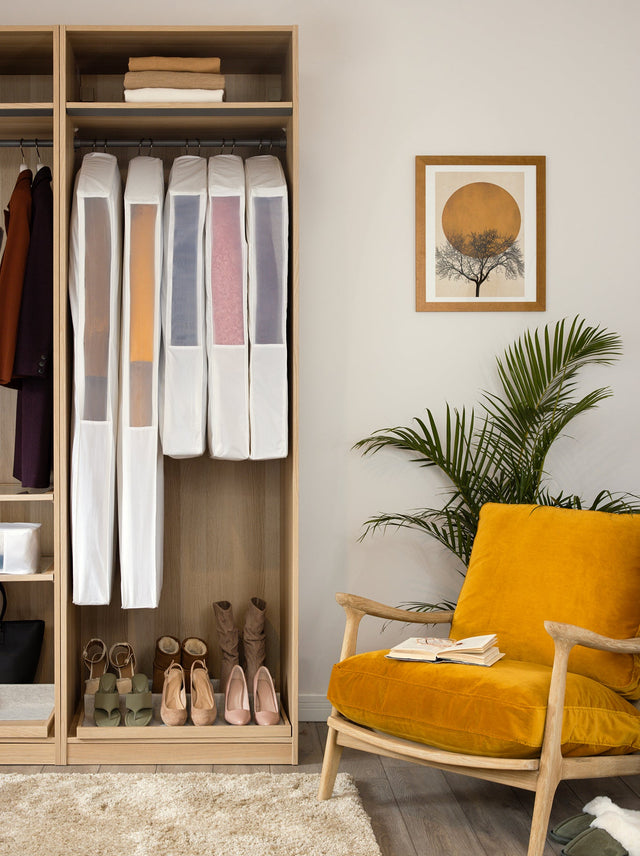
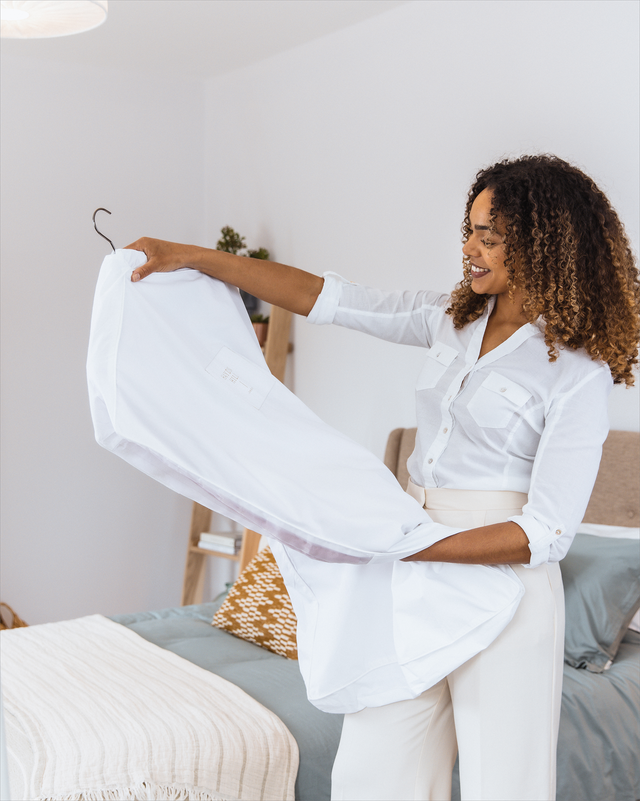
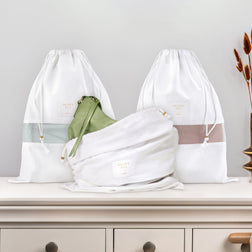
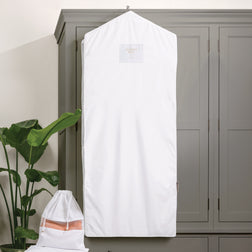
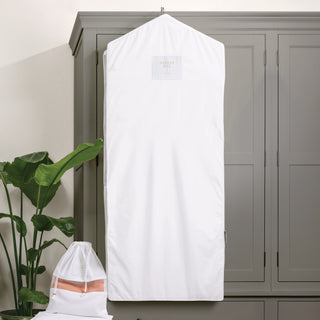
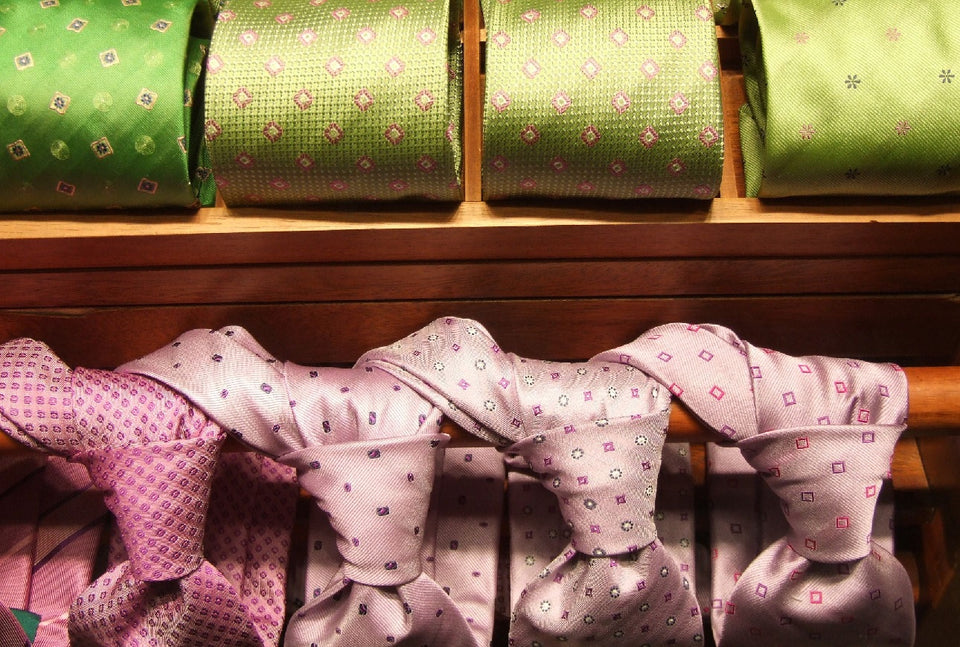
It’s also important to care for your ties well if you want them to last. Depending on your lifestyle and work environment, ties may go unworn for months at a time so proper storage is key. Whether you use a tie rack, box, or specialty hanger, be sure to store your ties using a method that protects them from dust and sun exposure.
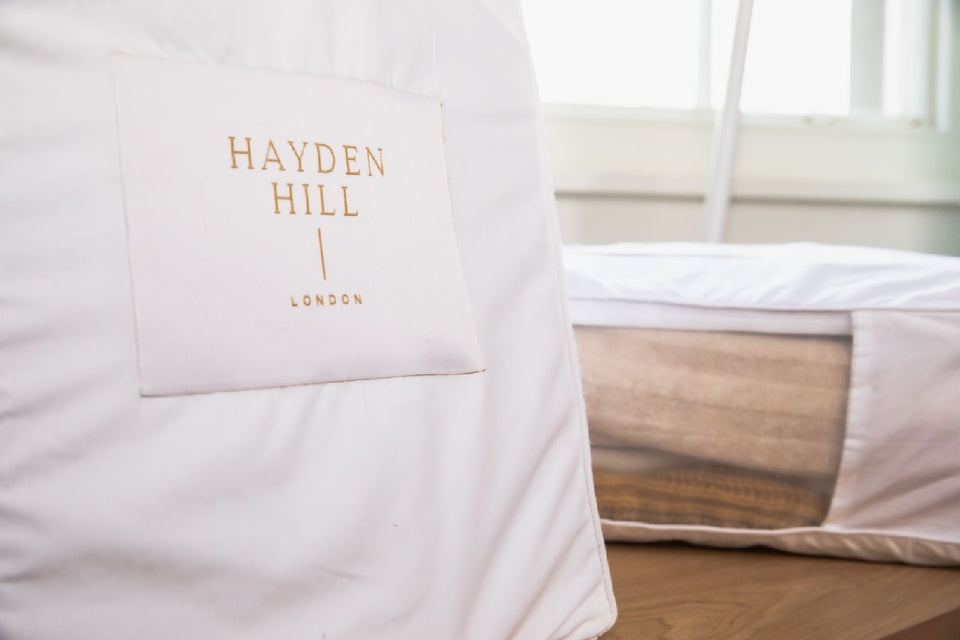
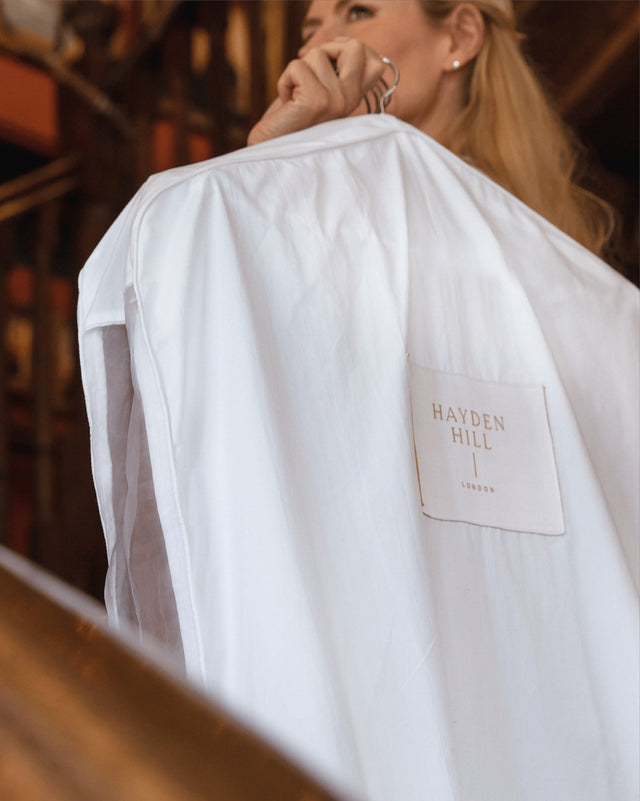
Hayden Hill offers garment protection to keep your valued pieces of clothing protected from dust, light, moths, mold, and condensation. Our long garment bags are made of 100% organic, soft cotton that is environmentally friendly and allows your favorite pieces to breathe while keeping them protected from damage.